english
 français
 Deutsch
 Italiano
 Русский
 Español
 português
 Nederlandse
 ελληνικά
 日本語
日本語
 한국
한국
 العربية
 हिन्दी
 Türkçe
 indonesia
 tiếng Việt
 ไทย
ไทย
 বাংলা
বাংলা
 فارسی
فارسی
 polski
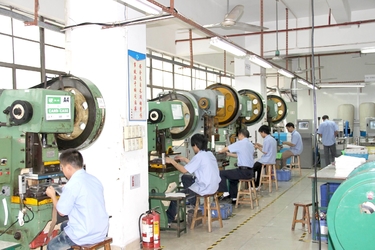
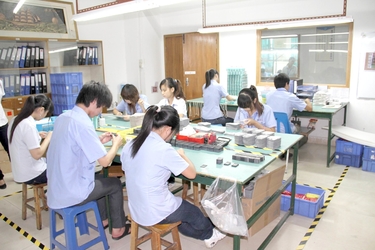
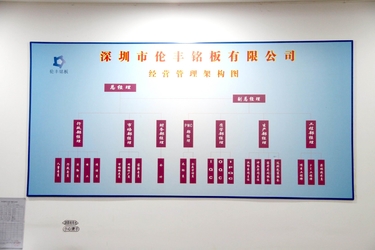
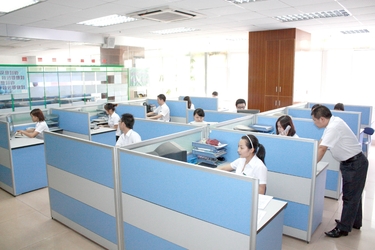

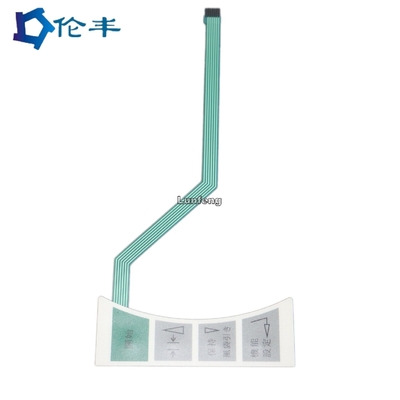
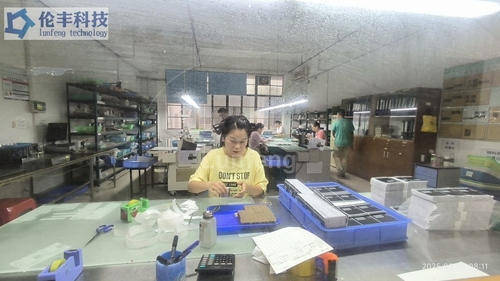
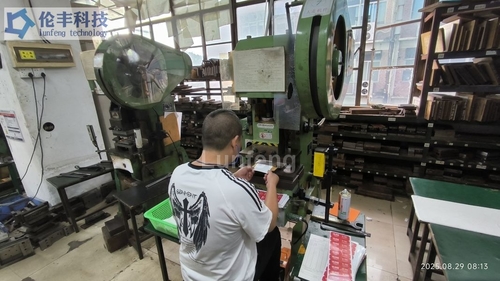
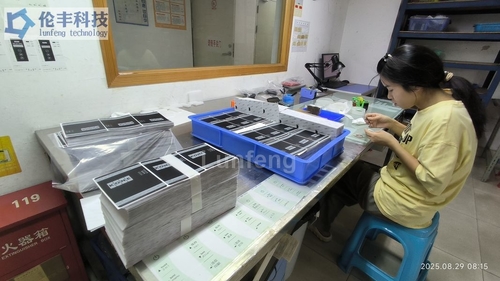
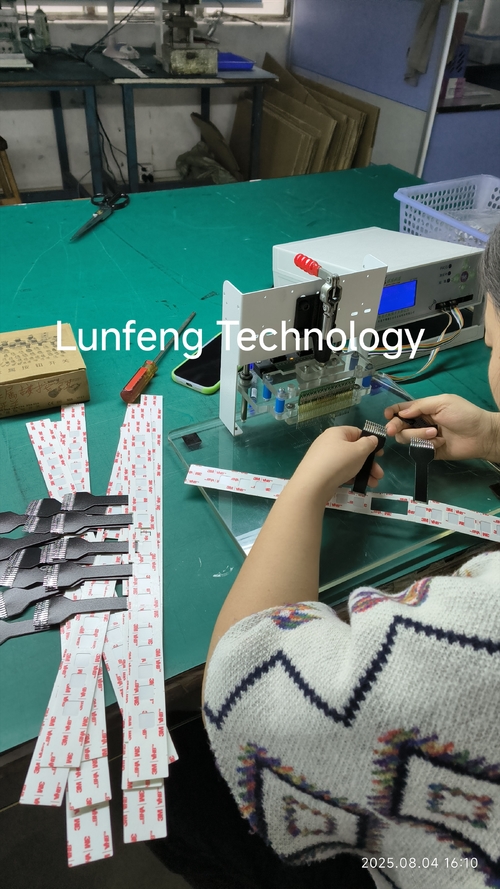
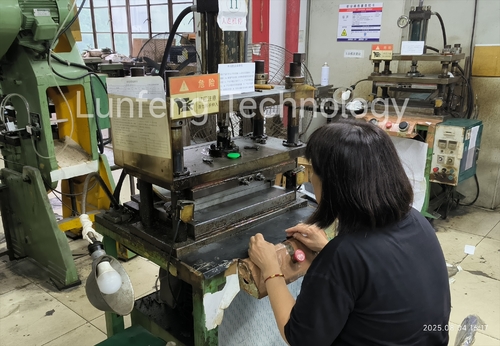
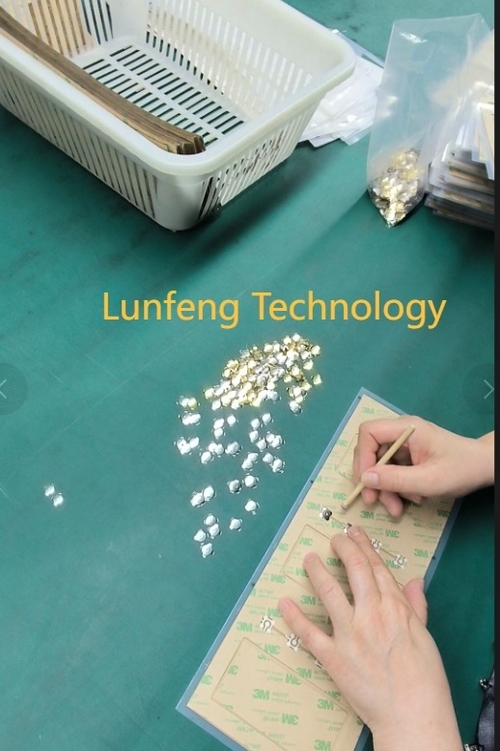
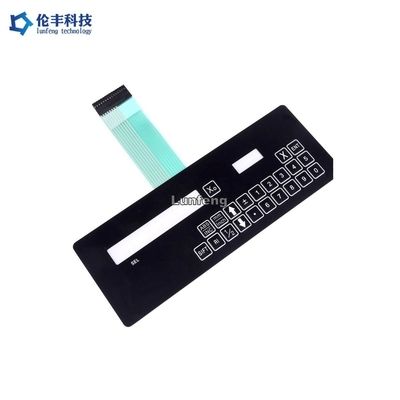
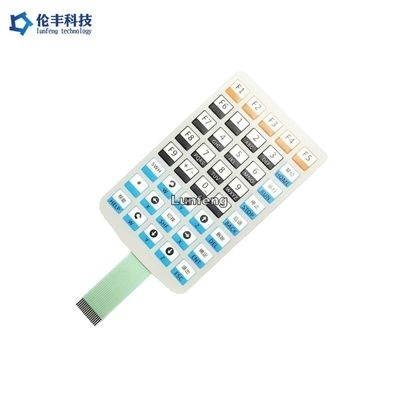
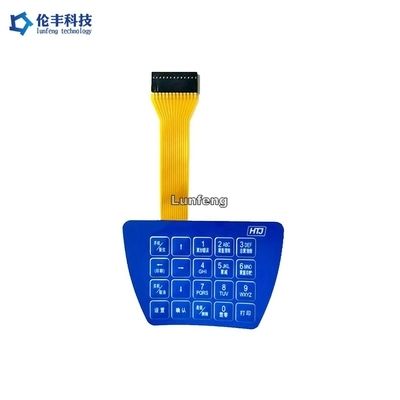
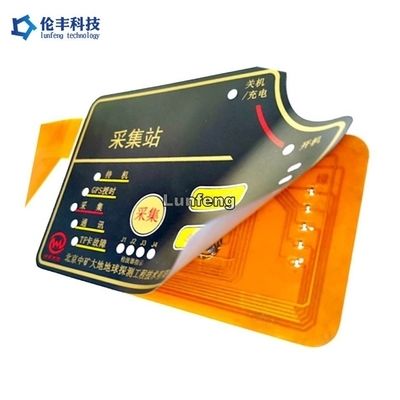
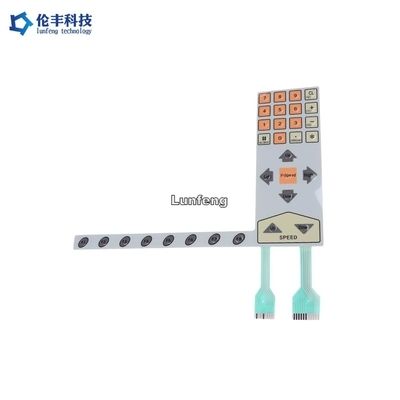
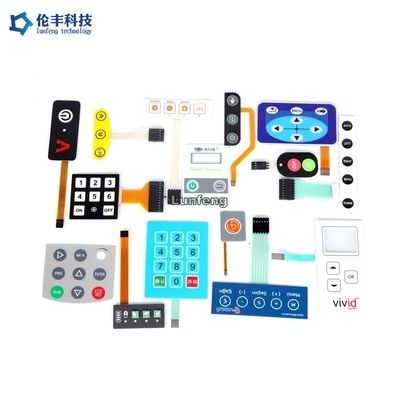
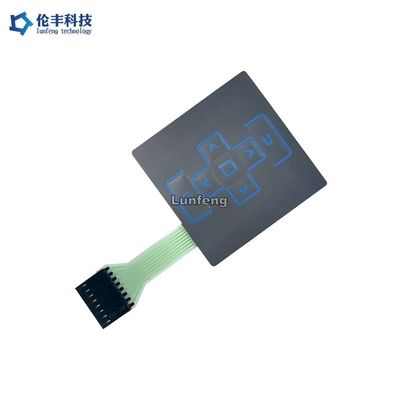
À propos de nous
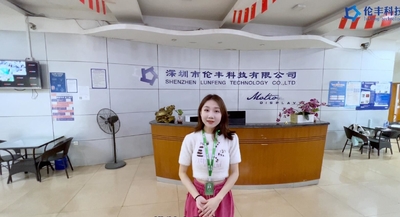
Shenzhen Lunfeng Technology Co., Ltd
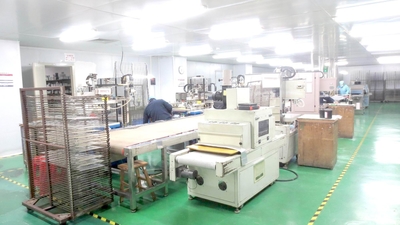
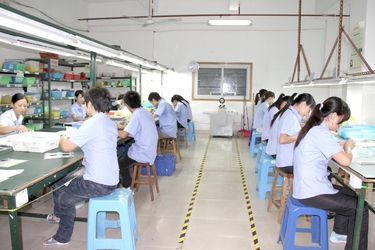
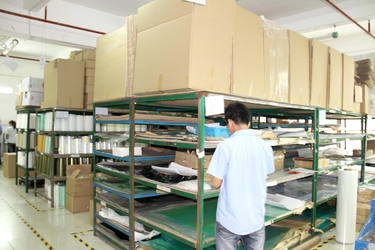
La société Shenzhen Lunfeng Technology Co., Ltd. (en anglais seulement)C' était...créée en 1995, principalement engagée dans la conception, la production, la vente et le service de toutes sortes d'interrupteurs à membrane, de revêtements à membrane, de revêtements graphiques, de plaques PC, PVC, PET et aluminium, de lentilles acryliques, de plaques d'identification métalliques,panneau d'écran tactile, époxy cristallin, papiers d'étiquette et matériaux composites thermodurcissables pour pressage ...